Homemade granola bars are more than a quick snack they’re a smart, wholesome solution for breakfast, hikes, or those just-in-case moments. In this article, you’ll learn how to craft chewy, flavorful bars that hold together and actually taste better than store-bought. We’ll dive into the best ingredients, binding tips, healthy add-ins, and easy fixes for common mistakes. Whether you’re meal prepping or making lunchbox staples, this guide to homemade granola bars will help you get it right from the start with links to favorite nourishing recipes like Coconut Lime Energy Bites and Oatmeal Banana Pancakes.
Table of Contents

Homemade Granola Bars
- Total Time: 1 hr chill
- Yield: 12 bars 1x
- Diet: Vegetarian
Description
These homemade granola bars are chewy, naturally sweetened, and endlessly customizable. Perfect for snacks, breakfasts, or lunchboxes.
Ingredients
2 cups rolled oats
1/2 cup chopped nuts (almonds, walnuts, or pecans)
1/3 cup honey or maple syrup
1/3 cup nut butter (peanut, almond, or sunflower)
1/2 cup dried fruit (cranberries, dates, or raisins)
1/4 cup seeds (chia, pumpkin, or flax)
1/2 tsp cinnamon
1/4 tsp sea salt
Instructions
1. Line an 8×8 pan with parchment paper, leaving overhang.
2. In a large bowl, mix oats, nuts, fruit, seeds, cinnamon, and salt.
3. In a small saucepan, warm honey and nut butter until smooth.
4. Pour wet mixture over dry ingredients and stir well.
5. Transfer to pan and press down firmly and evenly.
6. Chill for 1–2 hours or until firm.
7. Lift out of the pan and slice into bars.
8. Store in fridge up to 2 weeks or freeze for 3 months.
Notes
Try adding dark chocolate chips, shredded coconut, or protein powder for extra flavor.
Make it nut-free by using sunflower butter and pumpkin seeds.
- Prep Time: 10 mins
- Cook Time: 0 mins
- Category: Snacks
- Method: No-bake
- Cuisine: American
Nutrition
- Serving Size: 1 bar
- Calories: 180
- Sugar: 9g
- Sodium: 70mg
- Fat: 8g
- Saturated Fat: 1g
- Unsaturated Fat: 6g
- Trans Fat: 0g
- Carbohydrates: 23g
- Fiber: 3g
- Protein: 5g
- Cholesterol: 0mg
Keywords: homemade granola bars, no bake granola bars, healthy granola bars
My Granola Bar Beginnings
There’s something oddly comforting about reaching into the freezer and pulling out a stash of homemade granola bars. I didn’t grow up with fancy snacks we had pantry granola, the occasional chewy bar if it was on sale, and sometimes just peanut butter on crackers. But once I started playing with oats, nuts, and sticky sweet binders in my own kitchen, granola bars became something else entirely: creative, dependable, and surprisingly satisfying.
It all started when my daughter needed nut-free snacks for school, and every label I read felt like a gamble. So I made my own version rolled oats, sunflower seed butter, honey, and cinnamon. It wasn’t perfect the first time (they crumbled everywhere), but it didn’t matter. We both kept reaching for them.
Since then, my homemade granola bars have taken on a life of their own. I’ve played with all kinds of combos: toasted almonds with dried cherries, pumpkin seeds and maple syrup, even chocolate chunks with sea salt. It became a weekly ritual one that feels just as grounding as baking sourdough or blending up overnight chia pudding for the fridge.
What makes homemade granola bars so great is the flexibility. They can be as chewy, crunchy, or gooey as you want. And whether you’re reaching for one post-workout or handing one off to a kid racing out the door, you know exactly what’s inside. Compared to store-bought bars, which often come with a side of mystery oils and extra sugar, these feel more like real food. They’re simple, affordable, and endlessly adaptable.
Coming up, I’ll walk you through how to make homemade granola bars that actually stick without weird fillers or frustration. Whether you’re a batch baker or a snack newbie, you’ll have the tools to build your own favorite version.
How to Make Homemade Granola Bars That Stick
Picking the Right Base: Oats, Nuts & More
The heart of any homemade granola bar is its dry mix this is where texture and nutrition begin. Rolled oats are the foundation in most recipes. They offer chew, fiber, and structure. Quick oats can work too, especially if you prefer softer bars, but avoid steel-cut oats, which don’t soften enough. From there, you can mix in chopped nuts, seeds, shredded coconut, or even puffed rice to give the bars a crunchier bite.
For a nutrient boost, try chia seeds or ground flaxseed. These not only add omega-3s and protein, they also help hold everything together. Just like I do in my Sourdough Discard Energy Bites, layering in those tiny nutrient powerhouses turns a simple snack into something more sustaining.
Dried fruit, like chopped dates, apricots, or cranberries, brings both sweetness and moisture. Just be sure to dice them small too-large chunks can make bars fall apart during cutting.
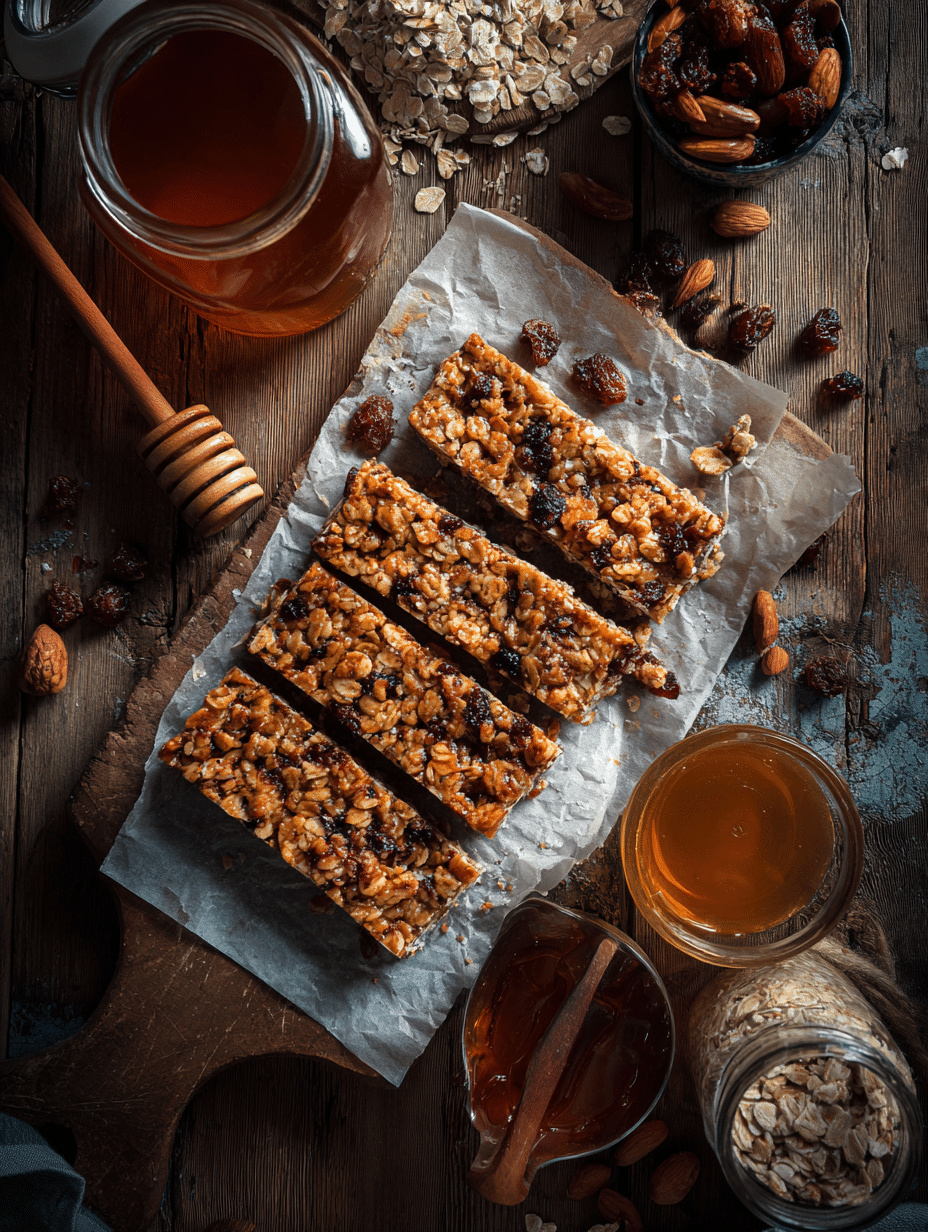
Binding Without Breaking: Honey, Nut Butter & Dates
The number one issue with homemade granola bars? Crumbling. The culprit is almost always the binder or lack of one. You need something sticky and firm once cooled. Natural sweeteners like honey or maple syrup are common and effective. Honey, especially, thickens as it cools and locks everything in place.
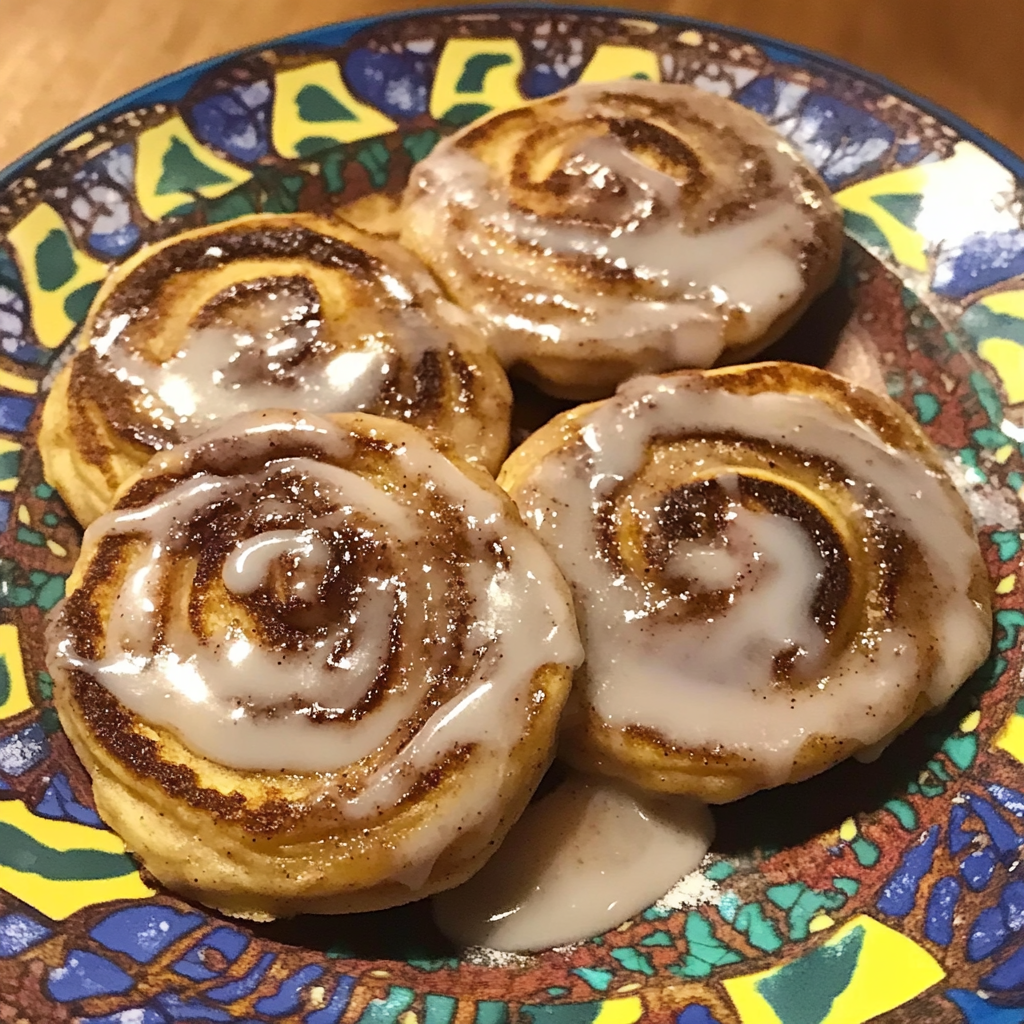
Nut butters think almond, peanut, or sunflower also act as glue and add protein. Melt them gently with the sweetener before mixing to make combining easier. If you’re looking for a no-bake binder, mashed dates blended into a paste are a fantastic option. I use a similar approach in my Cinnamon Roll Pancakes when I want a sticky swirl without adding refined sugar.
Pressing the mixture firmly into a lined pan is just as critical. Use a spatula, the bottom of a glass, or your hands wrapped in parchment to compact it evenly. Chill before slicing for bars that hold tight no more piles of snack rubble at the bottom of the jar.
Healthy & Delicious Granola Bar Ideas
Clean Eating with Big Flavor
One of the best perks of making homemade granola bars is the power to pack them with feel-good ingredients. You’re not limited to bland oat-and-honey combos you can layer in bold flavors without relying on processed sugars or artificial sweeteners.
Try pairing dark chocolate chunks with toasted pecans for a grown-up, indulgent bar that still hits the health mark. Or go tropical with dried pineapple, coconut flakes, and macadamia nuts. A dash of cinnamon, nutmeg, or even cardamom can add a depth of flavor you don’t expect from a grab-and-go snack.
For a satisfying crunch and extra staying power, pumpkin seeds and hemp hearts work wonders. I often use a blend of seeds and oats like I do in my Blueberry Lemon Sourdough Scones. They bring nutrients, texture, and a slightly nutty note that complements almost anything.
If you’re aiming for a lower-sugar option, consider unsweetened dried fruit or reduce sweeteners by upping the nut butter ratio. A touch of sea salt on top can make a huge flavor difference, especially if your mix includes chocolate or dried cherries.
Kid-Friendly or Meal-Prep Magic
When you’re packing lunches or prepping for the week ahead, homemade granola bars become a secret weapon. You can wrap each bar individually in parchment or wax paper for easy grab-and-go use. They keep in the fridge for up to two weeks or in the freezer for three months, ready to thaw on a busy morning.
Make smaller bars or bite-size squares for kids. Want to sneak in some veggies? Finely shredded carrot or zucchini blends in well when balanced with cinnamon and raisins think of it like a carrot cake granola bar.
Meal preppers love variety, so try making a double batch and dividing it into two flavors: one half with dark chocolate and coconut, the other with cranberries and pumpkin seeds. This way, you’re not stuck eating the same thing every day. It’s the same approach I use with Loaded Veggie Omelettes switching up fillings keeps meals from going stale.
Troubleshooting & Pro Tips
Why Did My Granola Bars Crumble?
One of the most common frustrations with homemade granola bars is when they fall apart the moment you slice them. Usually, it’s a problem with the binder-to-dry ratio. If there’s too much oat or nut without enough sticky stuff (like honey, nut butter, or date paste), they’ll turn into loose clusters great for yogurt topping, not so much for a bar.
Another factor? Not pressing the mix down hard enough before chilling or baking. Use real pressure a flat-bottomed measuring cup or small rolling pin works wonders. Letting the bars fully cool before slicing is key. If they’re even slightly warm, they’ll crumble. The same goes for rushing a no-bake version give it fridge time to firm up properly.
If your bars are baked, underbaking them can make them too soft, and overbaking will dry them out. Aim for a golden edge with a still-soft center that firms up as it cools. Like when I bake Avocado Toast with perfectly crisp sourdough, timing is everything.
Perfect Texture Every Time
The trick to perfect texture? It’s all in balance. For chewy bars, use rolled oats, add chopped dried fruit, and go generous with the binder. Bake low and slow around 325°F to avoid burning the sugars. If you want crispier bars, use more nuts and seeds, skip the fruit, and bake a few minutes longer.
A small tip with big results: line your pan with parchment and let it hang over the edges like handles. Once chilled, you can lift the entire slab out in one go and slice with a long, sharp knife. Clean cuts = fewer crumbles.
Also, don’t be afraid to experiment in small batches. Try mixing flavors and textures in a mini pan before committing to a big batch. That’s how I stumbled upon my coconut-maple mix, which now rivals my Coconut Lime Energy Bites in popularity around here.
With these tricks, your homemade granola bars will finally be consistent: sticky but sliceable, flavorful but balanced, and strong enough to travel wherever your day goes.
FAQS
Is it cheaper to make your own granola bars?
Absolutely. Homemade granola bars cost significantly less per bar compared to store-bought versions especially if you buy ingredients like oats, seeds, and nut butters in bulk. A batch of 12 bars might cost $4–$6 total, depending on your mix-ins. That’s a fraction of the price for most name-brand bars, and you get full control over what goes in.
What is a good binder for granola bars?
The most effective binders for homemade granola bars are honey, maple syrup, nut butters, and date paste. These ingredients create the stickiness needed to hold everything together. For best results, warm your wet ingredients before mixing them with your dry base this helps everything coat and combine evenly. The key is enough binder to moisten the mix without drowning it.
Is homemade granola bar healthy?
Yes homemade granola bars are often much healthier than store-bought options. You control the amount and type of sweetener, skip the preservatives, and add nutrient-dense ingredients like oats, seeds, nuts, and dried fruit. You can even customize them for low-sugar, high-protein, or fiber-rich diets. Recipes like my Sourdough Discard Energy Bites share that same nutrient-first philosophy.
Should you soak oats before making granola bars?
Soaking oats is optional, but not typically necessary for most homemade granola bars. Rolled oats soften just fine during baking or chilling. However, if you’re making raw, no-bake bars and want a softer texture or easier digestion, a brief soak or steam can help. Just make sure to reduce your wet ingredients slightly to account for the extra moisture.
Conclusion
Making homemade granola bars is one of those small, satisfying kitchen wins that pays off big. They’re endlessly adaptable, surprisingly affordable, and way more delicious than anything wrapped in plastic. Whether you love chewy or crunchy, fruity or nutty, baked or no-bake, there’s a version that fits your pantry and your taste.
As you start experimenting, don’t worry about making it perfect. Some of my best bars came from improvising with leftover seeds and a spoonful of maple syrup. Just like I say with my Blueberry Lemon Scones, messes happen, magic too.
So go ahead line that pan, mix up your favorites, and press your way to snack-time joy. With a little trial and a lot of oats, you’ll have a reliable, nourishing treat for mornings, hikes, or anytime you need a tasty trail companion. more recipes follow me: facebook – Pinterest

