There’s something wildly comforting about biting into a warm, homemade bagel. These Cheesy Chive Sourdough Discard Bagels strike a beautiful balance between tangy, savory, and satisfying. Packed with melty cheddar and speckled with fresh chives, they’re a smart way to use up sourdough discard without sacrificing flavor. In this article, I’ll guide you through exactly how to make them from scratch with tricks for perfect texture, step-by-step prep, and answers to common baking questions. If you’ve been wondering how to make the most of your sourdough starter waste, this cheesy chive recipe might just become a weekend ritual.
Table of Contents

Cheesy Chive Sourdough Discard Bagels
- Total Time: 2 hours 30 minutes
- Yield: 6 bagels 1x
- Diet: Vegetarian
Description
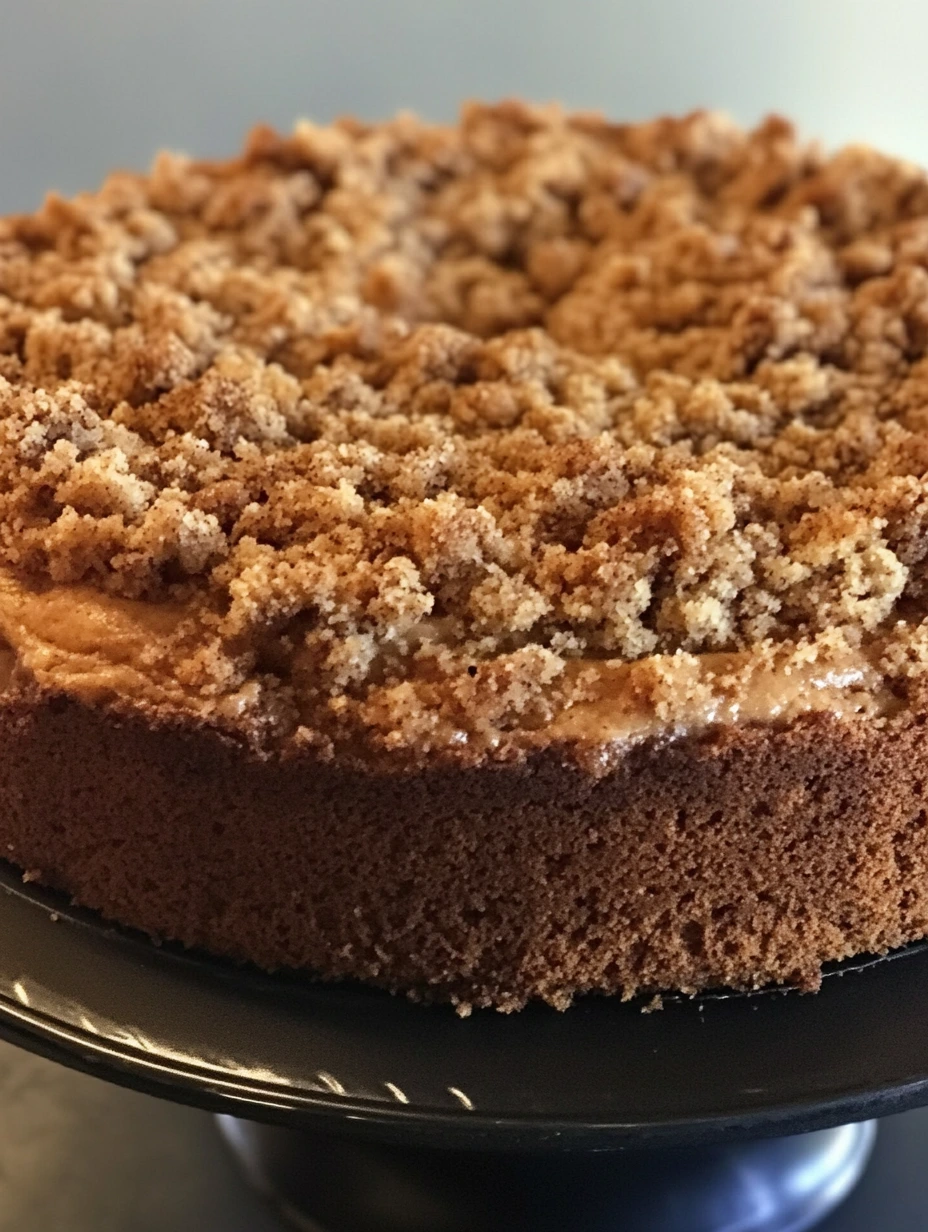
These golden, cheesy chive sourdough discard bagels are packed with tang, melty cheddar, and fresh herbs. Chewy, fluffy, and perfect for breakfast sandwiches or toasting with butter.
Ingredients
1 cup (240g) sourdough discard (unfed)
2 cups (240g) bread flour (or all-purpose)
1 tsp instant yeast
½ tsp baking powder
¾ tsp salt
½ cup warm water (add gradually)
1 tbsp olive oil
¾ cup shredded sharp cheddar cheese
¼ cup finely chopped fresh chives
6 cups water (for boiling)
1 tbsp brown sugar
1 egg, beaten (for egg wash)
Extra cheddar and chives for topping
Instructions
1. In a large bowl, mix sourdough discard, flour, yeast, baking powder, and salt. Add olive oil and gradually add warm water until a tacky dough forms.
2. Knead 6–8 minutes until smooth and elastic.
3. Fold in shredded cheddar and chives until evenly distributed.
4. Cover and let rise 60–90 minutes until puffy and slightly doubled.
5. Divide into 6 pieces. Shape into balls, poke a hole, and stretch into bagel rings.
6. Let rest 20–30 minutes while preheating oven to 425°F and preparing the boiling water.
7. Simmer 6 cups of water with brown sugar. Boil bagels 30 seconds per side.
8. Transfer to a tray, brush with egg wash, and sprinkle with more cheese/chives.
9. Bake 20–24 minutes until golden and bubbly.
10. Cool 10 minutes before slicing and serving.
Notes
Use oat milk + maple syrup for egg-free version.
Best served fresh, or freeze for up to 2 months.
Perfect for sandwiches or toasted snacks.
- Prep Time: 25 minutes
- Cook Time: 24 minutes
- Category: Breakfast, Breads
- Method: Baking, Boiling
- Cuisine: American
Nutrition
- Serving Size: 1 bagel
- Calories: 280
- Sugar: 2g
- Sodium: 340mg
- Fat: 9g
- Saturated Fat: 4g
- Unsaturated Fat: 4g
- Trans Fat: 0g
- Carbohydrates: 38g
- Fiber: 2g
- Protein: 9g
- Cholesterol: 32mg
Keywords: cheesy chive sourdough discard bagels, savory discard recipes, sourdough bagels
Why I Love Making Cheesy Chive Sourdough Discard Bagels
From Discard to Delight
Hi, I’m Emily Truett. If you ever visit my kitchen in West Lafayette, Indiana, chances are high that a batch of bagels is rising on the counter. I’ve always had a soft spot for cozy carbs, especially ones with crispy edges and pillowy middles. These Cheesy Chive Sourdough Discard Bagels came about on a gray Saturday when I had extra discard staring at me and a drawer full of sharp cheddar. What started as a “let’s not waste this” bake turned into one of my favorite savory breakfasts.
Sourdough discard doesn’t have to mean sour or overly dense. When used right, it adds depth, flavor, and moisture. Combined with a touch of instant yeast, this dough rises beautifully giving you that classic bagel chew with extra character. The tangy discard and sharp cheddar play off each other like a dream, and the chives? They lift everything with a mild oniony brightness that tastes like early spring.
If you’re already keeping a sourdough starter, these bagels are a rewarding way to use the discard you’d otherwise throw away. They’re ideal for beginners too. The dough is forgiving, the shape is rustic on purpose, and the reward is huge. Golden crust, cheesy bites, and the scent of real baking warmth.
Looking for more sourdough discard ideas? Try my fluffy sourdough pancakes or these savory sourdough waffles to build a discard routine that feels like a treat.

Savory Bagels That Fit Any Meal
These Cheesy Chive Sourdough Discard Bagels aren’t just for breakfast though they’re outstanding with a fried egg and a little cream cheese. I love using them for open-faced sandwiches or slicing them thin for homemade bagel chips. The crust holds up beautifully when toasted, and the inside stays tender and flavorful.
They’re great for brunch spreads, quick lunches, or to elevate your usual morning routine. The subtle sour flavor from the discard layers beautifully with the cheese and herbs, making each bite nuanced and satisfying. You could even swap in caramelized onions or smoked paprika next time once you master the method, the variations are endless.
Want to dig into more breakfast-worthy bakes? Explore spelt morning rolls with herbs or these golden turmeric muffins to keep your mornings interesting.
Mastering the Sourdough Discard Bagel Method
Texture Secrets: The Chewy, Golden Crust
The beauty of sourdough discard bagels lies in their layered texture tender inside, chewy at the bite, and a golden exterior that looks and smells bakery-fresh. The trick? It starts with the dough. By combining sourdough discard with a touch of instant yeast, you get a boost of fermentation and flavor without needing a full rise overnight.
For the best results, use bread flour if you have it. Its higher protein content creates more gluten structure, giving the bagels that classic pull. If you’re out of bread flour, all-purpose works, too but the chew will be slightly softer.
Kneading is key here whether you’re using a stand mixer or your hands, go until the dough is smooth and elastic. Once you add the shredded cheddar and chopped chives, things might get a little sticky. That’s okay. Lightly flour your hands and knead gently to fold everything evenly into the dough.
Pro tip: let your dough rise until it’s puffy and slightly doubled. Under-proofed dough won’t shape as easily and can result in flatter bagels.
If you love exploring dough textures, check out my guide on how to troubleshoot sticky sourdough and my simple beginner boule for more ferment-forward inspiration.
Why Boiling Bagels Makes All the Difference
Boiling your bagels before baking may seem like an extra step but it’s the key to creating that authentic chewy crust. When bagels hit simmering water (sweetened with a touch of brown sugar), the outer starches gel instantly, setting the shape and forming that signature bagel skin.
Boil for just 30 seconds per side any longer, and your crust might get too tough. After boiling, transfer the bagels back to the tray and brush with egg wash for shine. For an even cheesier top, sprinkle extra shredded cheddar and fresh chives right before baking.
Don’t skip the egg wash it helps everything brown beautifully and hold together. For an egg-free version, use a mix of plant milk and maple syrup to get a similar sheen.
Then into the oven they go at 425°F, until the tops are golden and the cheese is bubbling. When you slice into one, the interior should be fluffy and flavorful with pockets of melted cheese and herbal freshness from the chives.
For more boiling-based bakes, try my crusty pretzel rolls or these everything sourdough bagels both follow similar techniques.
Customize and Serve Your Cheesy Chive Bagels
Easy Swaps for Cheese and Herbs
One of the best things about this cheesy chive sourdough discard bagel recipe is how flexible it is. While I love the sharp bite of cheddar and the fresh zing of chives, don’t feel boxed in. You can easily tailor the mix-ins to fit your mood or your fridge.
Try swapping in gruyère, pepper jack, or asiago for a more intense flavor. Want a little heat? Add a pinch of crushed red pepper or dice in a roasted jalapeño. Chives can be replaced with scallions, fresh dill, or rosemary depending on the vibe you’re going for.
If you’re after a more Mediterranean feel, think feta and thyme, or go smoky with smoked gouda and paprika. The base dough can carry almost any bold savory combo you throw at it.
And for those with food sensitivities, you can make these bagels egg-free by using an oat milk glaze instead of egg wash. Gluten-free versions are possible with 1:1 flour blends, though the texture will be softer and less chewy. If you’re in that boat, I suggest baking them in muffin tins to help them hold shape.
Want to explore more flavor-forward baking? Try my herbed einkorn focaccia or cheddar scallion biscuits for savory joy in every bite.
How to Serve and Enjoy
So, you’ve pulled these bagels from the oven now what? First: try one warm, sliced in half, with a swipe of whipped cream cheese or garlic butter. It’s heavenly. If you’re up for more, here are a few of my favorite ways to serve them:
- Breakfast sandwich: fried egg, smashed avocado, and a little hot sauce.
- Brunch platter: sliced bagels with herbed cream cheese, smoked salmon, and pickled onions.
- Toasted snack: crisp them up and top with melty mozzarella and sun-dried tomatoes.
- Bagel chips: slice thin, bake until crisp, and serve with hummus or spinach dip.
Hosting a brunch soon? Add these bagels alongside soft scrambled eggs with greens or my carrot turmeric soup for a cozy, nourishing spread.
Smart Storage & Sourdough Discard Tips
Storing and Freezing Bagels
Fresh bagels are best the day they’re baked but life’s busy, and you won’t always eat all six right away. Here’s how to keep them tasting great:
- Short-Term Storage: Once completely cool, place bagels in an airtight container or zip-top bag at room temperature for up to 2 days. To reheat, just slice and toast.
- Freezing: These bagels freeze beautifully. Wrap each one tightly in plastic or parchment, then seal in a freezer bag. They’ll keep for up to 2 months.
To reheat from frozen, don’t thaw just pop the bagel in a 350°F oven for 8–10 minutes or slice and toast directly. The cheddar stays melty and the inside fluffs right back up.
If you love batch baking, these bagels pair well with freezer-friendly sides like hearty lentil stew or zucchini fritters.
Making the Most of Your Discard
Using sourdough discard in bagels is just the beginning. Discard is full of flavor and moisture it’s a shame to waste it. Here are a few tips to build a low-waste, high-flavor baking routine:
- Save discard in a jar: Store in the fridge up to a week. Stir before using.
- Combine discard + commercial yeast: This gives you the best of both worlds sourdough tang with predictable rise.
- Weigh over measure: Sourdough discard varies in thickness. If your dough feels dry or too wet, trust texture more than the written amount.
- Keep it active: If your discard is a few days old and bubbly, it adds even more depth.
Not sure what else to make? Try my sourdough discard crackers or chocolate discard banana bread to reduce waste and increase deliciousness.
FAQS
Can I make sourdough discard bagels without yeast?
Yes, but they’ll need a much longer rise (usually overnight) and a very active discard. Adding a bit of instant yeast speeds things up and gives more consistent results, especially with heavier ingredients like cheese.
Can I use dried chives instead of fresh?
You can, but use only about 1 tablespoon of dried chives since they’re more concentrated. Fresh chives offer brighter flavor and better color, so use them when possible.
Why do you boil bagels before baking them?
Boiling helps set the bagel’s shape and creates that distinctive chewy crust. It also gives the surface a shine and helps toppings like cheese and herbs stick better during baking.
How do I know when sourdough discard has gone bad?
Discard should smell tangy, not foul. If it has a pink or orange tint, fuzzy mold, or a sharp rotten smell, toss it. Stored properly in the fridge, it’s good for up to a week
Conclusion
Making Cheesy Chive Sourdough Discard Bagels at home is a deeply satisfying way to use up your starter discard while baking something crave-worthy and nourishing. With just a few simple steps mix, knead, boil, bake you’ll unlock a chewy, golden bagel bursting with flavor and potential.
Whether you’re slathering them with cream cheese, stacking them into sandwiches, or freezing a few for later, these bagels are a reliable and delicious part of your baking routine. If you’re new to sourdough, start here. If you’re seasoned, play with new mix-ins and make them yours.
Either way, your kitchen’s about to smell amazing.more recipes follow me: facebook – Pinterest