Why Make This Recipe
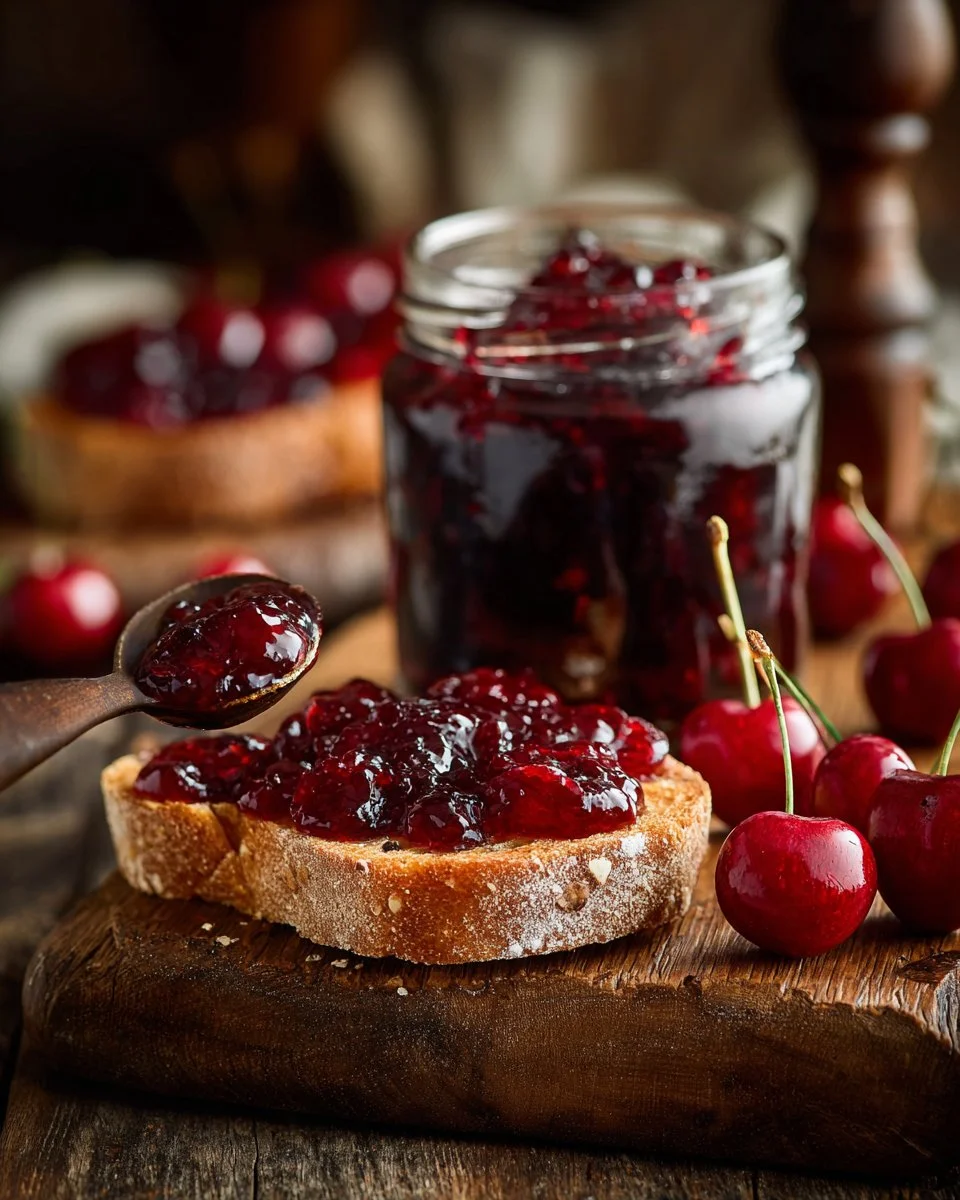
There’s something truly magical about spreading homemade cherry jam on a warm slice of bread. The sweet and tangy flavors dance on your tongue, making breakfast feel like a special occasion. Plus, making cherry jam is surprisingly easy, even if you’re new to canning! When cherries are in season, it’s time to make the most of them. This simple recipe captures the essence of summer in a jar, bringing back those sunny days even in the chill of winter.
Imagine walking into your kitchen, surrounded by the fruity aroma of simmering cherries. It’s a cozy dream come true! Whether you’re enjoying a lazy Sunday morning or preparing a thoughtful gift for a friend, this cherry jam recipe will win hearts.
How to Make Cherry Jam
Let’s dive into the steps. Grab your favorite apron and let’s get started!
Ingredients:
- 2 pounds (900g) sweet or sour cherries (or a mix)
- 2 1/2 cups (500g) sugar
- Freshly squeezed juice of one medium lemon (plus additional juice if desired)
- 1-2 drops of almond extract
Directions:
- Start by removing the stems and pits from the cherries. It’s a simple task but oh-so-satisfying!
- Toss the cherries into a large non-reactive pot. If you have sweet cherries, add 2-3 tablespoons of water. Sour cherries will release enough liquid on their own.
- Cover the pot and cook over medium heat. Stir occasionally until the cherries soften, which should take about 10 minutes.
- Once the cherries are wilted, remove the lid. Stir in the sugar and lemon juice. The aroma will be heavenly!
- Crank up the heat to medium-high. Keep stirring frequently until the mixture thickens. You’ll know it’s ready when it spreads nicely on a frozen plate – just put a spoonful on it and see if it leaves a clear patch.
- Finally, stir in a drop or two of almond extract (or some liqueur, if that’s your thing!). Ladle the lovely jam into clean jars and seal them up tight.
How to Serve Cherry Jam
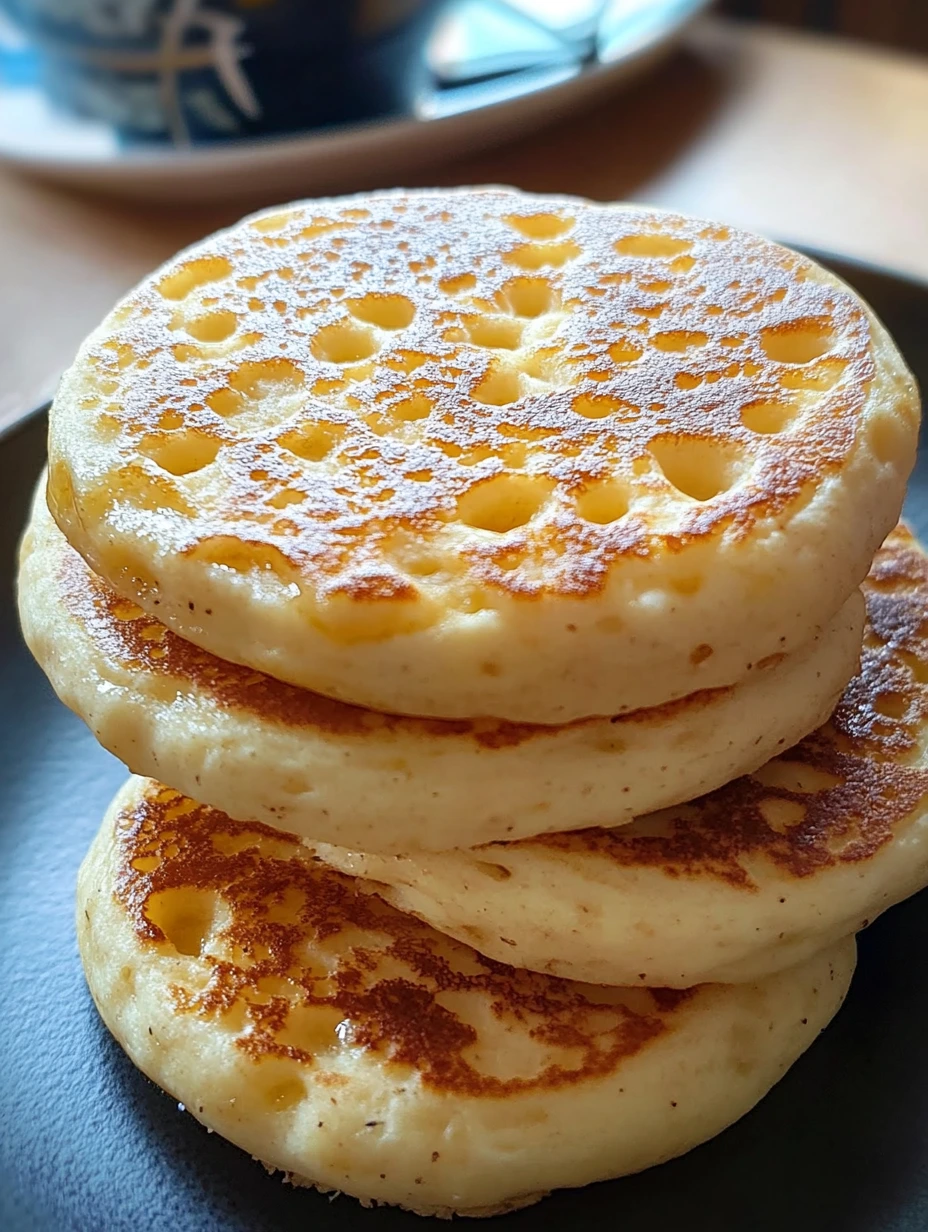
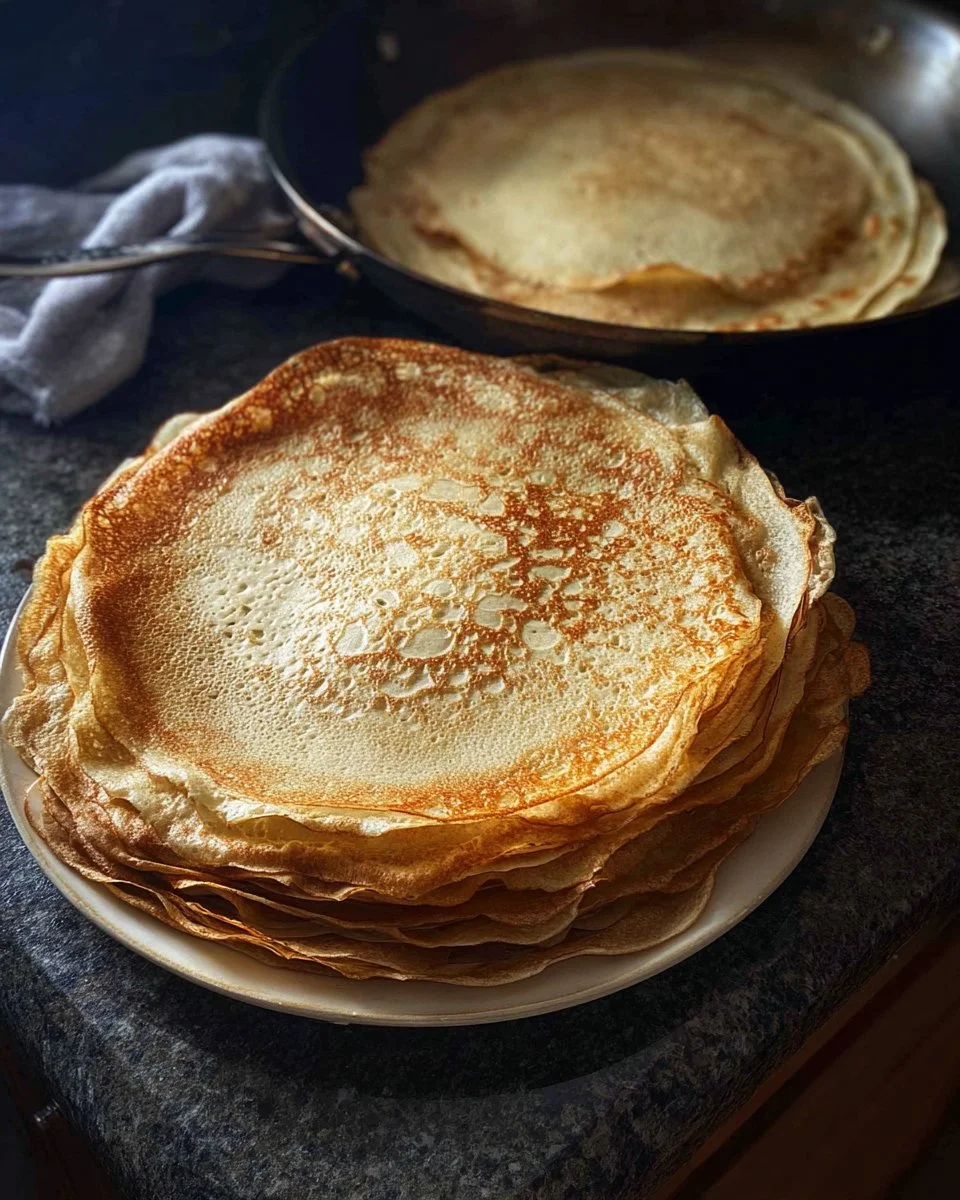
Cherry jam is incredibly versatile! Slather it on warm toast or spread it between layers of fluffy pancakes. I love pairing it with homemade biscuits for an indulgent breakfast. You can also use it in desserts, like thumbprint cookies or even a drizzle over ice cream. If you want an extra scrumptious treat, try it with some cherry chocolate chip cookies!
How to Store Cherry Jam
To keep your jam fresh, let it cool to room temperature before storing. Place it in a sealed jar and store it in the refrigerator. Enjoy it within a few weeks. If you’ve sealed it properly, it can last much longer in the pantry, too!
Tips to Make Cherry Jam
- Use ripe, juicy cherries for the best flavor. They have the sweetest taste!
- Want to add some spice? A pinch of cinnamon can really elevate the flavor profile.
- If you’re feeling experimental, a splash of vanilla or even a touch of heart-shaped jam cookies can add an exciting twist.
Variation
You can easily switch things up by adding in some spices or even other fruits! Try mixing in a bit of strawberries or raspberries for a fun twist on the classic cherry flavor. Each fruit brings its own unique charm, kind of like how different toppings make the same pizza feel new every time.
FAQs
Can I use frozen cherries for this recipe?
Absolutely! Just thaw them first and drain any excess liquid before using.
How do I know if my jam is set?
The spoon test works great! If the jam leaves a clear line when you pull the spoon through, it’s ready to go!
Can I reduce the sugar in the recipe?
You can, but keep in mind that sugar helps with the preservation and thickening process. If you want a less sweet version, consider using a sugar substitute.
Conclusion
Making cherry jam is such a rewarding endeavor. It’s perfect for brightening up your mornings and sharing with loved ones. For even more delicious ideas, be sure to check out this fun cherry jam recipe.
Want more recipes? Follow me on Facebook – Pinterest.
Print
Homemade Cherry Jam
- Total Time: 45 minutes
- Yield: 4 servings 1x
- Diet: Vegetarian
Description
Delicious homemade cherry jam that captures the essence of summer in a jar, perfect for spreading on bread or using in desserts.
Ingredients
- 2 pounds (900g) sweet or sour cherries (or a mix)
- 2 1/2 cups (500g) sugar
- Freshly squeezed juice of one medium lemon
- 1–2 drops of almond extract
Instructions
- Start by removing the stems and pits from the cherries.
- Toss the cherries into a large non-reactive pot. If you have sweet cherries, add 2-3 tablespoons of water.
- Cover the pot and cook over medium heat, stirring occasionally until the cherries soften, about 10 minutes.
- Once the cherries are wilted, remove the lid and stir in the sugar and lemon juice.
- Crank up the heat to medium-high and keep stirring until the mixture thickens.
- Finally, stir in a drop or two of almond extract and ladle the jam into clean jars.
Notes
Use ripe cherries for the best flavor and consider adding a pinch of cinnamon for an extra twist.
- Prep Time: 15 minutes
- Cook Time: 30 minutes
- Category: Condiment
- Method: Canning
- Cuisine: American
Nutrition
- Serving Size: 2 tbsp
- Calories: 50
- Sugar: 12g
- Sodium: 1mg
- Fat: 0g
- Saturated Fat: 0g
- Unsaturated Fat: 0g
- Trans Fat: 0g
- Carbohydrates: 14g
- Fiber: 0g
- Protein: 0g
- Cholesterol: 0mg
Keywords: cherry jam, homemade jam, canning, summer recipe